
Following the guides written with the great Pierre Lecourt (in French):
(more to come)
Today we will see how to easily access your server from your file explorer, as if you were working directly on your own machine.
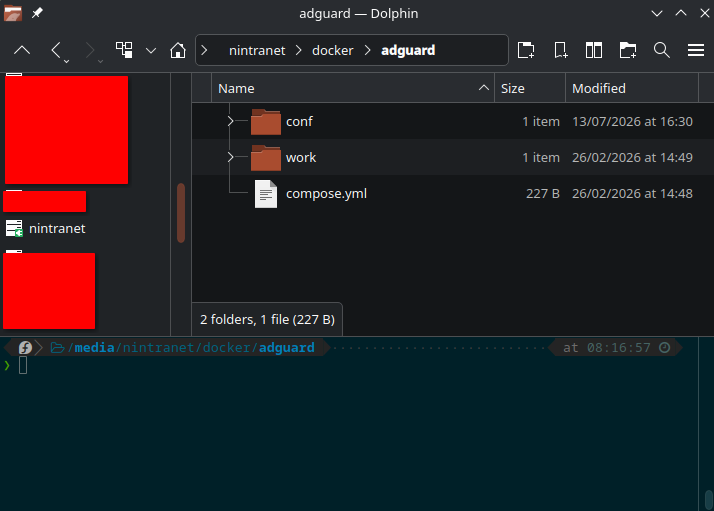
Goal: automatically mount the home directory of an account on the home server (/home/USER on the server) into /mnt/garage on the workstation, authenticating with the account created on the server. Here we assume the server is called garage.
Note: this setup assumes your local machine also runs Linux. On Windows, you can configure a network mount point from the file explorer.
To keep things simple, in the rest of this post:
- Local machine: your everyday PC
- Server: the server in your garage
USERmust always be replaced with your user name (the one on the server or on your local machine)
1. Sharing the home directories (Server)
Samba is usually installed by default on most Linux distributions.
With Samba, the [homes] section of /etc/samba/smb.conf already does the job: each account on the server sees its own home directory shared under its name. In other words, //garage/USER points to /home/USER, without having to declare one share per user.
[homes]
   browseable = no
   read only = no
   valid users = %S
We will set a Samba password for the account (preferably different from the system password):
sudo smbpasswd -a USER2. Installing the CIFS client (Local machine)
sudo apt install cifs-utilsOr on Fedora / openSUSE...
sudo dnf install cifs-utils 3. Getting your uid and gid (Local machine)
User ID and group ID:
id -u
id -g
Usually 1000 and 1000 for the first account created on the machine.
If they are not 1000 / 1000, remember to adapt the values in step 6.
4. Creating the credentials file (Local machine)
Never put the password directly in /etc/fstab, which everyone can read. Store it in a dedicated file in your local home directory (on your machine, not on the server):
username=USER
password=motdepasse
domain=WORKGROUP
Save it as /home/USER/.smbcredentials, then protect it:
chmod 600 /home/USER/.smbcredentials5. Creating and preparing the mount point (Local machine)
sudo mkdir -p /mnt/garage
sudo chown USER:USER /mnt/garage
sudo chmod 750 /mnt/garage
The mkdir creates a directory owned by root: without the chown, the user cannot write to the mount point as long as the share is not mounted. Once the share is mounted, the uid/gid options take precedence over these permissions.
Why /mnt and not directly in the home directory?
It is tempting to mount the share in /home/USER to have it at hand. It is a bad idea, for permission and configuration reasons, among others.
/mnt is precisely the place meant for file systems mounted by the administrator, while /media is reserved for removable media mounted by the desktop environment. One subdirectory per server stays readable once you have several of them.
But if you really want it there, you can always create a symbolic link:
ln -s /mnt/garage ~/garage6. The line in /etc/fstab (Local machine)
//garage/USER /mnt/garage cifs credentials=/home/USER/.smbcredentials,uid=1000,gid=1000,file_mode=0664,dir_mode=0775,iocharset=utf8,nofail,_netdev,x-systemd.automount,x-systemd.idle-timeout=60 0 0All on a single line, with the options separated by commas and no spaces. If a path contains a space, replace it with \040.
The name garage must be resolvable from the workstation: through the local network DNS or the hosts file (/etc/hosts), or more simply by using the IP address directly (//192.168.1.10/USER).
The options that matter
credentials=: the file created in step 4, so the server account.uid=/gid=: this is what makes the mounted content belong to the user rather than root. Without these two options, everything belongs to root and you cannot write anything withoutsudo.file_mode/dir_mode: the permissions shown on the client side (the server remains in charge of the actual permissions).nofail: the machine boots even if the home server is off._netdev: tells systemd that the mount depends on the network, so it waits until the network is available.x-systemd.automount: the share is only mounted the first time the directory is accessed, so the boot does not wait for the server.x-systemd.idle-timeout=60: unmounts after 60 seconds of inactivity, handy on a laptop that travels outside the local network.
7. Applying it
sudo systemctl daemon-reload
sudo mount -a
ls -l /mnt/garage
The listed files should show the local user as their owner.
Variant: mounting and unmounting on demand, without sudo
By replacing x-systemd.automount with noauto,user, the mount is no longer automatic, but the user can trigger it themselves:
mount /mnt/garage
umount /mnt/garage
Alternative with sshfs
You can also mount over SSH, without credentials, using your SSH key instead:
USER@garage:/home/USER /mnt/garage fuse.sshfs _netdev,user,identityfile=/home/USER/.ssh/id_ed25519,port=2213,allow_other,reconnect,ServerAliveInterval=15,ServerAliveCountMax=3,compression=no,cache=yes,kernel_cache,uid=1000,gid=1000 0 0To adapt:
- USER@garage: the connection string to your server
- /home/USER: the directory on your server that you want to mount
- /mnt/garage: the mount point on your machine
- identityfile=/home/USER/.ssh/id_ed25519: the path to your SSH key (on your local machine)
- port=2213: the SSH port to use, if different from port 22
Comments (0)